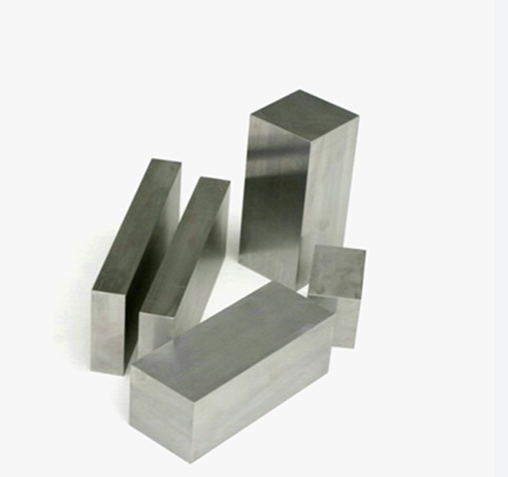
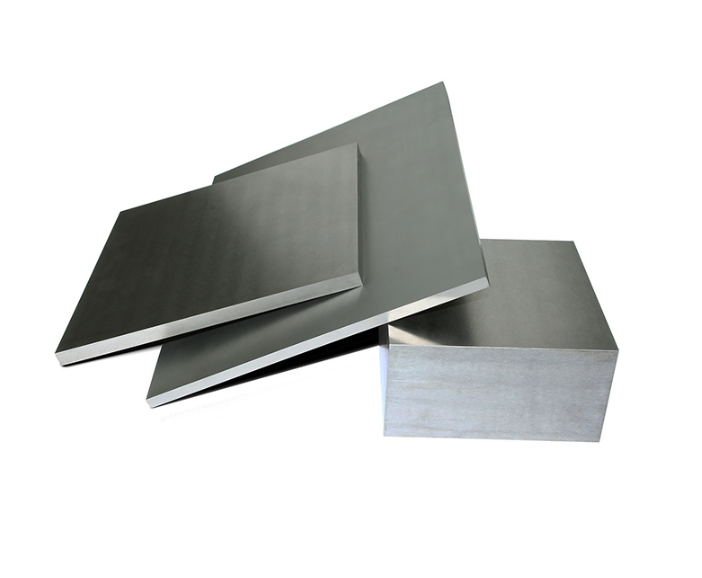
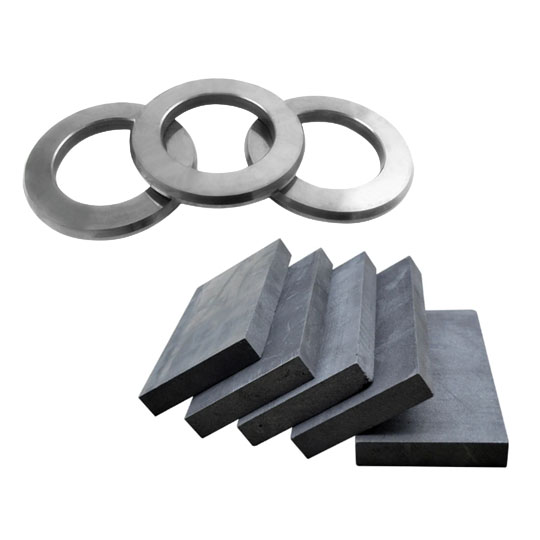
What is Surface Roughness?
Ever touched a surface and thought, “Wow, that’s smooth!” or maybe the opposite—it felt a bit gritty or uneven? That texture you feel is what engineers and material scientists call surface roughness. Simply put, it’s the small, finely spaced deviations from an ideal flat surface. It’s measured in micrometers (µm) and described using parameters like Ra (average roughness), Rz (average maximum height), and others.
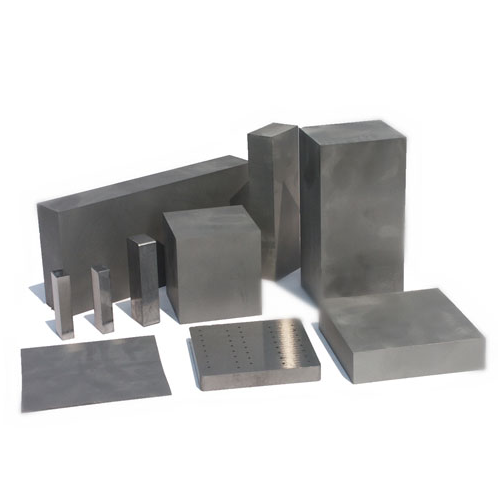
Now, imagine a super close-up view of a material’s surface—you’d see peaks and valleys. Surface roughness is all about how tall those peaks are and how deep the valleys go. And when you’re dealing with plaques en carbure, which are essential in cutting tools, dies, and wear-resistant applications, this roughness isn’t just cosmetic. It’s performance-critical.
Why Surface Roughness Matters for Carbide Plates
So, why does anyone care if a carbide plate is rough or smooth? Here’s the deal: surface roughness affects everything from wear resistance, lubrication, and friction to how well coatings adhere to the surface.
Think of a carbide plate like a racecar tire. Too rough, and it creates drag. Too smooth, and it might not grip when it needs to. In carbide applications, surface texture can make or break performance. For instance:
- In cutting tools, smoother surfaces reduce friction and heat generation.
- In dies and molds, roughness can affect the finish of the final product.
- In high-stress applications, rough surfaces can be stress concentrators, leading to premature failure.
The takeaway? Surface roughness isn’t just a number. It’s a critical performance parameter.
Recommended Surface Roughness in Applications
There’s no one-size-fits-all answer here, but there are industry standards and best practices. Let’s break it down:
- For cutting inserts and tools: Surface roughness should typically be in the Ra 0.2 – 0.8 μm range. This provides a balance of wear resistance and low friction.
- For wear parts and dies: You’re looking at Ra 0.4 – 1.6 μm, depending on the tolerance and finish requirements.
- For coatings (like PVD or CVD): Pre-coating roughness around Ra 0.1 – 0.3 μm is ideal to ensure strong adhesion.
More precision? You bet. Let’s look at how this roughness is actually controlled.
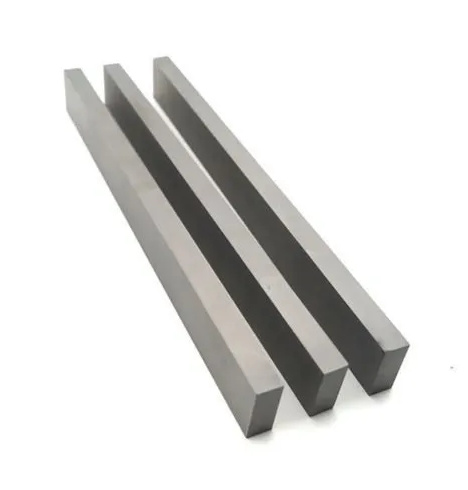
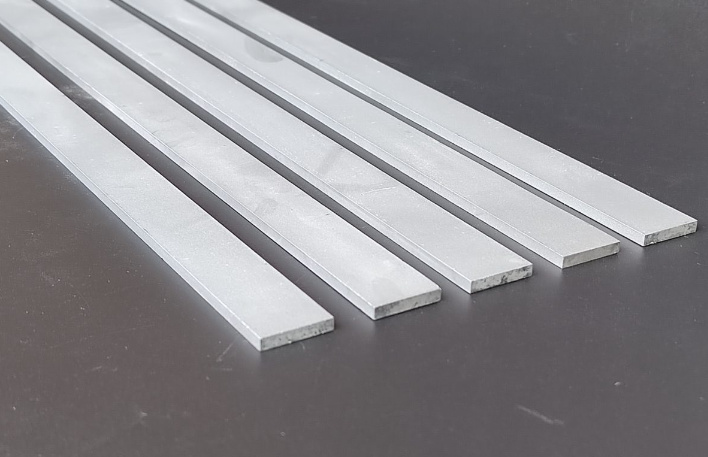
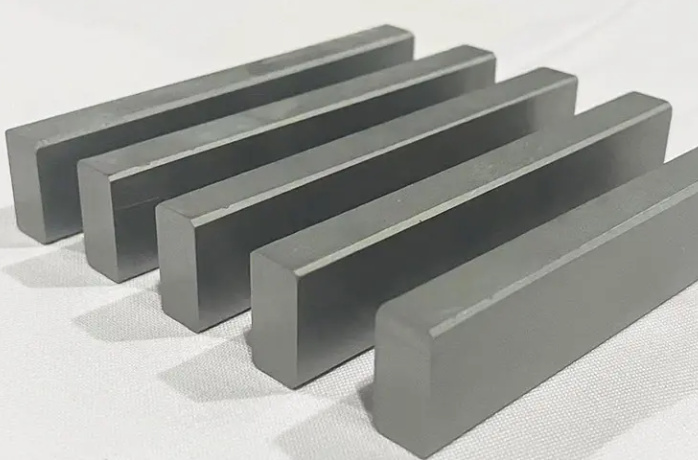
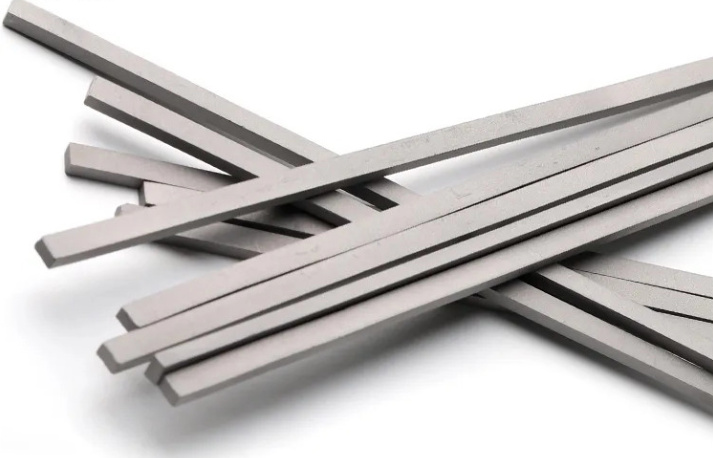
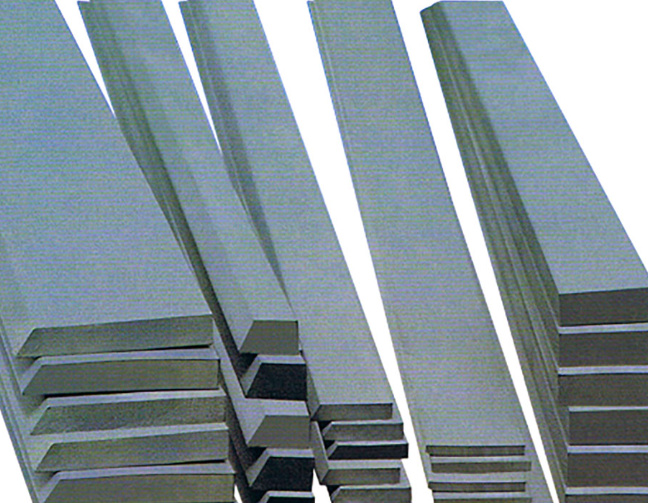
How to Control Surface Roughness in Plaques de carbure
Manufacturers use a mix of processing techniques to hit those sweet spot values of surface roughness. Check out the table below:
Techniques to Control Surface Roughness in Carbide Plates
| Méthode | How It Works | Roughness Outcome | Meilleur pour | Coût |
|---|---|---|---|---|
| Broyage | Abrasive wheel shapes the surface | Ra 0.2 – 0.8 μm | Cutting tools, precision dies | Modéré |
| Rodage | Uses a slurry of abrasive particles for ultra-smooth finish | Ra 0.05 – 0.2 μm | Coating prep, mirror finishes | Plus élevé |
| EDM (Electrical Discharge) | Sparks erode the material in a non-contact process | Ra 1.0 – 3.2 μm | Complex shapes, pre-finishing | Haut |
| Polissage | Fine abrasive action improves surface sheen | Ra 0.05 – 0.3 μm | Aesthetic, coating, tribology | Haut |
| Sandblasting | Uses particles to uniformly abrade the surface | Ra 0.8 – 3.2 μm | General roughening for coatings | Faible |
| Laser Texturing | Lasers etch micro patterns to control texture | Highly controlled (custom patterns) | High-tech applications | Très élevé |
| Sintering Control | Powder compacting parameters affect initial surface | Ra 2.0 – 6.3 μm (before machining) | Base substrate before grinding | Faible |
Les 10 meilleurs modèles de poudre métallique pour Plaques de carbure (with Descriptions)
Carbide plates begin with the right metal powders, and here are ten models that are game-changers in terms of performance, surface behavior, and end-use quality.
Leading Metal Powder Models Used in Carbide Plate Manufacturing
| Modèle à poudre | Composition | Taille des grains | Avantages | Best Application |
|---|---|---|---|---|
| WC-Co 6% | Tungsten carbide + 6% cobalt | 1.2 μm | Tough, good wear resistance, easy to grind | Outillage à usage général |
| WC-Co 10% | Tungsten carbide + 10% cobalt | 0.8 μm | Increased toughness, slightly less wear resistance | Heavy-duty cutting inserts |
| WC-NiCr 12% | WC with nickel-chromium binder | 1.0 μm | Excellent corrosion resistance, strong coating base | Marine, chemical tools |
| WC-CoCr 8% | Tungsten carbide + cobalt-chromium | 1.4 μm | Better bonding with coatings, solid tribological performance | Pièces pour l'aérospatiale |
| WC-Co grain fin | Ultra-fine WC + 6% Co | 0.4 μm | Ultra-hard, great for finishing tools | Micro-machining, fine cutters |
| TiC-WC-Co | Titanium carbide, WC, cobalt blend | 1.0 μm | Higher temperature resistance | Outils à grande vitesse |
| Cr3C2-NiCr | Chromium carbide + nickel-chromium | 2.5 μm | Extreme corrosion and oxidation resistance | Thermal spray coatings |
| WC-Co with VC Additive | WC-Co + Vanadium carbide | 0.6 μm | Grain growth inhibition, finer surface after grinding | Dies, punches, wear plates |
| WC-Co + TaC | WC-Co with Tantalum carbide | 0.9 μm | Better thermal stability, smoother finish post-polish | Aerospace molds, high-temp operations |
| WC-Co Nanopowder | Nanoscale tungsten carbide + cobalt | <0.1 μm | Extremely hard, mirror-finish achievable | High-performance tools, semiconductor tooling |

FAQ
| Question | Réponse |
|---|---|
| What is the ideal surface roughness for carbide plates used in molds? | Typically between Ra 0.4 – 1.2 μm, depending on the final product finish requirements. |
| Can surface roughness affect coating adhesion? | Absolutely. A surface that’s too smooth may prevent coatings from bonding, while too rough can trap air pockets. Ideal is Ra 0.1 – 0.3 μm. |
| How is surface roughness measured? | Utilisation profilometers (contact or laser), AFMou white light interferometry for high-resolution readings. |
| Is smoother always better? | Not necessarily. Some applications require texture for grip, adhesion, or lubrication. |
| Which metal powder is best for high corrosion resistance? | WC-NiCr 12% ou Cr3C2-NiCr powders offer superior performance in corrosive environments. |
| What causes poor surface finish in carbide? | Causes include tool wear, improper sintering, grinding wheel issuesou poor-quality powder. |
| Can I polish carbide to a mirror finish? | Yes, especially with nano or fine grain WC-Co compositions, but it takes time and precision equipment. |
| Is roughness the same as flatness? | Nope! Roughness is about microscopic peaks/valleys; flatness is about macro-level deviations. Both matter though. |
| Can roughness be changed after coating? | It’s tough. Most coatings replicate surface roughness, so pre-coating polish is key. |
| Are there standards for surface roughness? | Yes, ISO 4287, ASME B46.1, and other international norms guide roughness measurement and reporting. |

